FREE Incident Response With Velociraptor
Remotely investigate your endpoints with Velociraptor

Intro
Velociraptor is a unique, advanced open-source endpoint monitoring, digital forensic and cyber response platform.
It was developed by Digital Forensic and Incident Response (DFIR) professionals who needed a powerful and efficient way to hunt for specific artifacts and monitor activities across fleets of endpoints. Velociraptor provides you with the ability to more effectively respond to a wide range of digital forensic and cyber incident response investigations and data breaches:
- Reconstruct attacker activities through digital forensic analysis
- Hunt for evidence of sophisticated adversaries
- Investigate malware outbreaks and other suspicious network activities
- Monitory continuously for suspicious user activities, such as files copied to USB devices
- Discover whether disclosure of confidential information occurred outside the network
- Gather endpoint data over time for use in threat hunting and future investigations
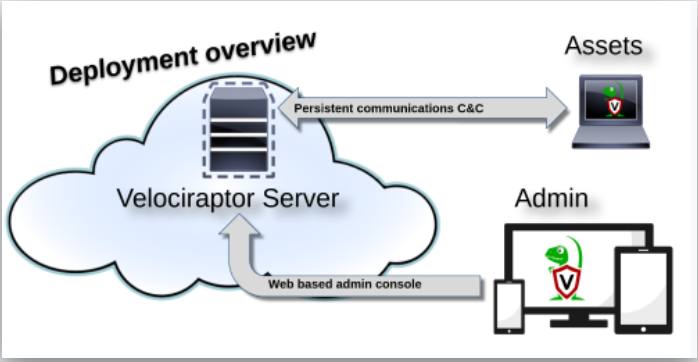
Velociraptor Server Install
We first begin by deploying the Velociraptor server. All endpoints will connect to the server via the Velociraptor agent. The Velociraptor server provides a Web UI for end users to view their endpoints, run hunts / playbooks, and much more.
In this tutorial, we are deploying the server on an Ubuntu 20.04 machine.
- Grab the binary:
wget https://github.com/Velocidex/velociraptor/releases/download/v0.6.4-2/velociraptor-v0.6.4-2-linux-amd642. Make executable
chmod +x velociraptor-v0.6.4-2-linux-amd643. Update DNS records:
The public DNS name of the Frontend: The clients will connect to the server using this DNS name so it should be publicly accessible. If you are using self-signed SSL you may specify an IP address here, but this not recommended because it is less flexible. If the server’s IP address changes it will be impossible to contact the clients.
I created an DNS Entry A record that resolves to the public interface of my Velociraptor server.

4. Run the executable to configure your server.
./velociraptor-v0.6.4-2-linux-amd64 config generate -i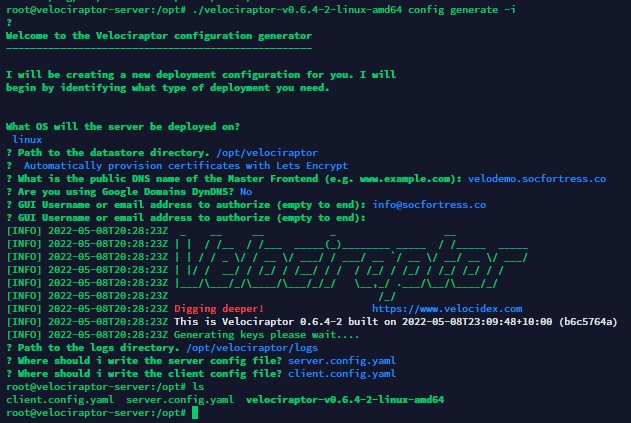
5. Step 4 created the server config file server.config.yaml and the client config file client.config.yaml . Using this file, we will create a .deb package which will install the Velociraptor Server service onto our Ubuntu 20.04 machine with our provided server.config.yaml.
./velociraptor-v0.6.4-2-linux-amd64 --config server.config.yaml debian server --binary velociraptor-v0.6.4-2-linux-amd64
6. Install the new .deb package and start the velociraptor service.
dpkg -i velociraptor_0.6.4-2_server.deb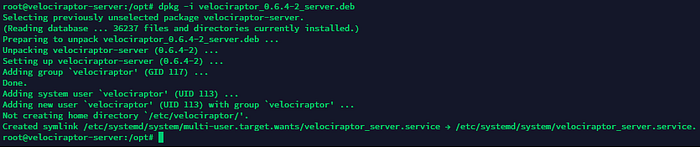
7. Ensure the velociraptor_server service is running
systemctl status velociraptor_server
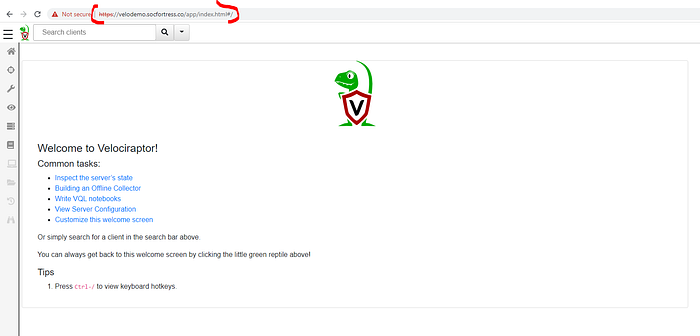
8. Load the WebUI by inputting the DNS name into your browser:
Velociraptor Client Install
With our server now installed and running. We now need to configure the agent packages to run on our endpoints. We will create our own packages that will be preconfigured with the contents within the client.config.yaml file.
Linux
The dpkg (Debian) or rpm (Red Hat/CentOS/Fedora) tools can be used to install Velociraptor on Linux clients after creating an appropriate package.
Debian Package:
# velociraptor-v0.6.4-2-linux-amd64 --config client.config.yaml debian clientOur client installer has now been created:

Copy the new client.deb over to our endpoint. I will use scp in this example:
scp velociraptor_0.6.4-2_client.deb 5.161.107.5:/tmp/My client installer is now within the /tmp directory of my endpoint:

Run the installer:
dpkg -i velociraptor_0.6.4-2_client.deb
The velociraptor_client service is now up and running.
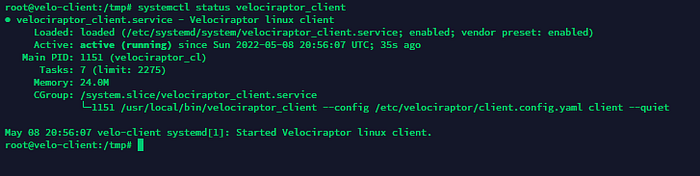
We also see our new agent has checked in:

Red Hat Package:
Create (Most OS variants with systemctl)
# velociraptor-v0.6.4-2-linux-amd64 --config client.config.yaml rpm client
Copy over the rpm package to your endpoint and run the below command to install.
sudo rpm -i velociraptor_x.x.x_client.rpm
Windows MSI:
The official Velociraptor MSI does not include the configuration file and therefore requires further steps to deploy. In practice it is almost always easier to build a custom MSI which includes your own configuration file embedded in it.
Velociraptor already includes a Wix Framework configuration file that creates a proper custom MSI with embedded configuration. You can also customize this Wix file to specify a different service name, destination location etc.
To do so, follow follow the instructions here
To summarize the process, you will need to:
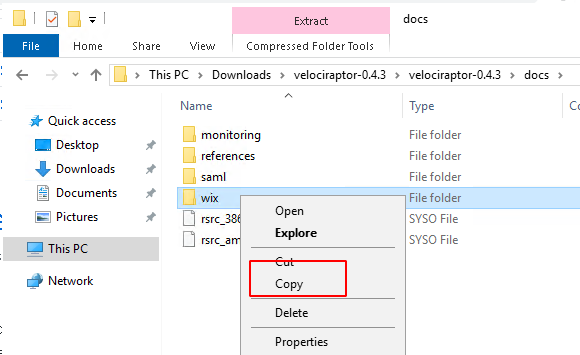
- Download the Velociraptor repository to a Windows host. Specifically, you need to copy the appropriate custom XML file and build batch file from the
docs/wixdirectory into a new working directory on your host.
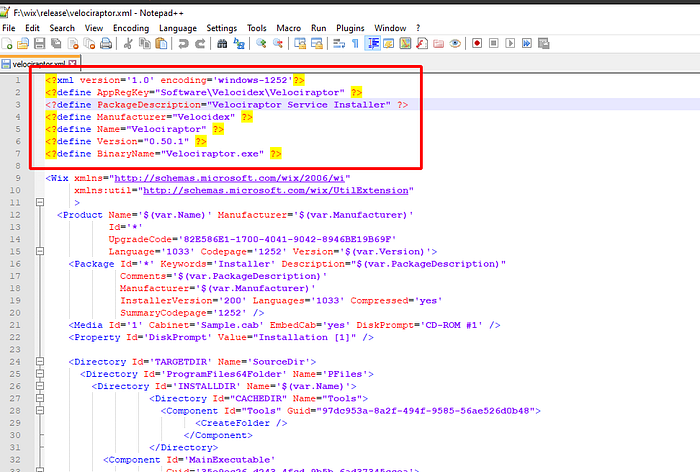
2. Update the custom XML for your installation. The README file from docs/wix steps you through the typical settings to customize.
3. Install the Wix application on your Windows host.
4. Add your custom client.config.xml file and the appropriate Velociraptor executable to a subdirectory of your build directory called output.
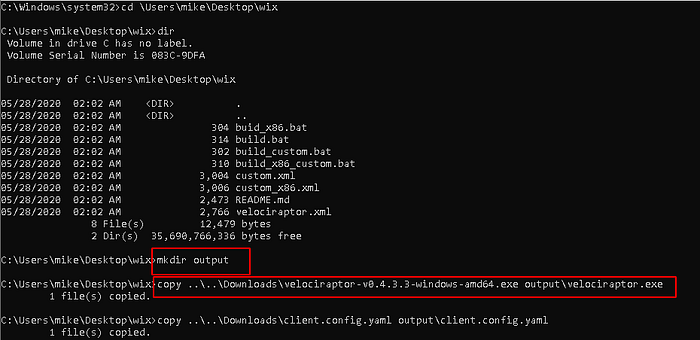
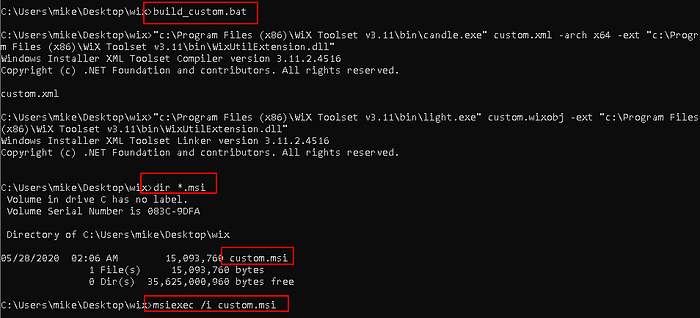
5. Execute the build batch file to create the new MSI file.
Running A Hunt
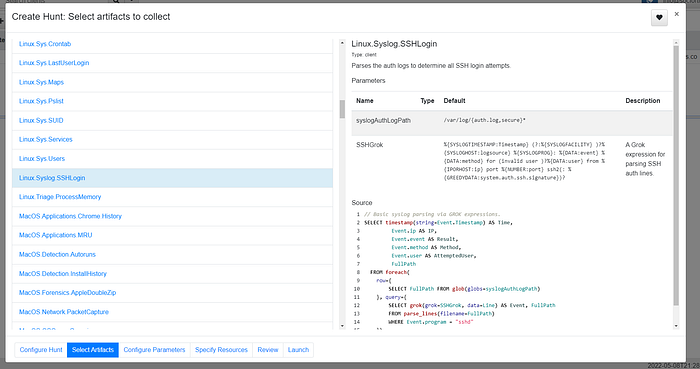
Let’s run a basic hunt that lists all SSH logins from our newly installed clients.

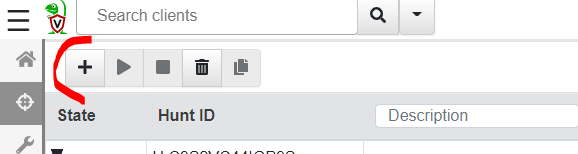
Review and then Launch to add this newly created hunt to our list:

Select the hunt and then execute it:


Select the Notebook to view results:

Conclusion
Velociraptor is an extremally powerful and free incident response platform that can be used for a number of tasks. The extent amount of provided artifacts allows users collect files, scan for intrusions, quarantine hosts and run remediation tasks remotely. Standup Velociraptor today to provide a scalable, free, and fast Incident Response platform.
Need Help?
The functionality discussed in this post, and so much more, are available via the SOCFortress platform. Let SOCFortress help you and your team keep your infrastructure secure.
Website: https://www.socfortress.co/
Platform Demo: https://www.socfortress.co/demo_access.html